Tutorials
VTuber Character Design Tips: Silhouettes, Colors, and Outfits That Read on Stream
Plan your VTuber's concept, silhouette, colors, and outfit. Explore small-screen checks, design revisions, and reference needs for Live2D, 3D, and Virmii.
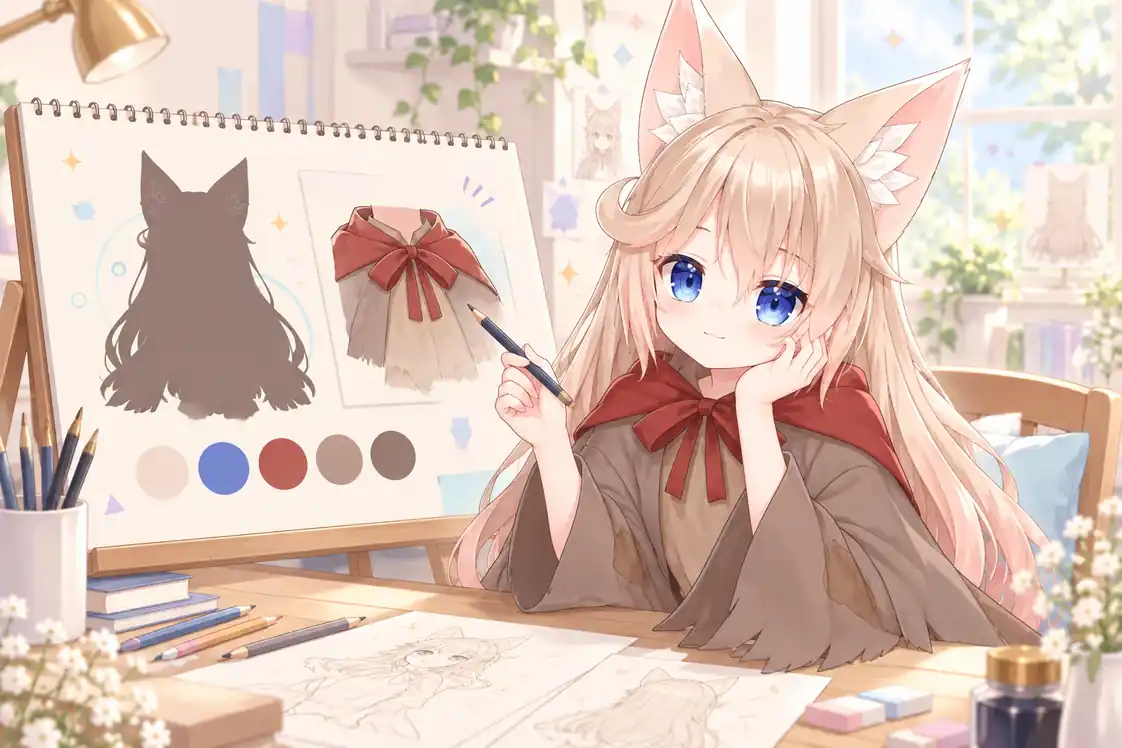
Start your VTuber character design at its on-stream size
If you are stuck on your VTuber character design, first decide what kind of stream layout you will use and how large the avatar will appear. Details you love in a full-body illustration may disappear when placed in the corner of a game screen. Hair shape and the colors around the collar, on the other hand, can remain recognizable at smaller sizes.
This guide takes you from a channel concept to silhouette, color, and outfit choices, then through display tests and production references. Most examples assume upper-body framing for gaming or chatting streams. For full-body dance streams or vertical video, adjust the focal points and framing you test.
Not every VTuber uses face tracking. Image-switching PNGTubers, 2D Live2D models, and 3D VRM avatars require different assets and animation methods. If you have not chosen a format, the PNGTuber, 2D, and 3D comparison can help narrow the scope of production.
You can work through the design in five stages:
- Describe your activities and the impression you want to give in a few words.
- Establish the silhouette around the hair, head, and shoulders.
- Choose the main blocks of color and the details you want to emphasize.
- Review the design as an icon and within your actual stream layout.
- Prepare images and a brief suited to your production method.
That last stage does not always require a three-view reference sheet. The materials you provide to a commissioned model artist differ from the single image you use to generate a 3D model with Virmii.
Use your channel concept to guide design decisions
Describe the atmosphere, not just the stream category
“I will stream games” does not tell you which outfit or hairstyle to choose. Describe the experience you want to share: quietly solving puzzles and chatting at night, for example, or playing lively competitive matches with viewers. Your intended audience and a speaking style you can comfortably maintain are useful considerations too.
You do not need to choose colors based only on the time of day you stream. A dark outfit can work during the day, and a bright character can work at night. Check the colors against the actual game footage or stream background they will appear over.
Narrow down the impression and motifs
Choose two or three words to clarify the direction. Pairing “calm” and “approachable” with a role such as “detective” gives you a starting point for expressions, clothing shapes, and accessories.
You can combine several motifs, but adding more does not necessarily make the design more distinctive. For a “black cat detective,” you might make the ears and a detective-style collar the main features without packing character lore into every accessory.
| Decision | Illustrative concept | What to try visually |
|---|---|---|
| Activities | Evening puzzle games and chatting | Place the avatar over dark game footage and check the boundaries around the face and shoulders |
| Desired impression | Calm and approachable | Try softer expressions and lighter colors near the face |
| Main motif | A black cat detective | Concentrate distinctive features in the ear shape and collar clasp |
When gathering reference images, note what you are referencing, such as the contrast between colors or the texture of a fabric. Keep that separate from instructions to reproduce an existing character's appearance exactly.
Build a silhouette that works in upper-body framing
Looking at the silhouette lets you assess the large shapes of the hair and clothing without relying on intricate patterns or colors. For a bust-up stream layout, working on the area from the top of the head to the shoulders first lets you compare directions before detailing the entire body.
Choose the defining hair and head features
Decide which feature will act as a visual marker: bangs, side hair, a hair tie, ears, or a hat. Distinctive hair flicks and large bows are options, but adding protrusions is not the goal. Rounded outlines and symmetrical hairstyles can work just as well when they suit the concept.
For an asymmetrical design, record the frame of reference, such as “the character's own left side.” The model's orientation or a mirrored video output can otherwise make it easy to confuse that with the left side of the screen.
Separate shapes around the collar and shoulders
Where the hair meets the shoulders, and how collars or ribbons sit around the neck, affects the upper-body composition. If the hair and outfit merge into one mass, compare options such as leaving a gap between shapes, changing the collar height, or separating their light and dark values.
Tall collars and large shoulder accessories can interfere with face or arm movements. Do not judge them only from a front-facing illustration; consider head tilts and scenes where the arms move as well.
Check a solid silhouette and a smaller preview
Fill the character with a single color on a transparent background, then view both the full-body and upper-body versions at a small size. Check whether the hair and shoulders merge too much and whether the ears or accessories you want to retain are still readable.
A solid silhouette is a supporting test for comparing shapes. Color and expression also define a character, so you do not need to discard a favorite design simply because it is not identifiable from its silhouette alone. Switch between the silhouette and the normal color version when judging it.
Use color ratios as a starting point, then adjust against the background
If you are overwhelmed by the number of colors, group them into a base color covering a large area, a supporting color, and an accent that draws attention.
One approach is to block out rough proportions such as 70%, 25%, and 5%. These are design guidelines, not mandatory ratios. The proportions change depending on how you count skin and shadows, and a full-body view shows a different balance from a bust-up crop.
If you place an accent in the eyes or near the face, check whether the outfit decorations compete at the same intensity. When everything is vivid, it becomes harder to decide what should stand out.
Check the boundaries between hair, face, and clothing
If the hair and shoulder clothing have similar brightness, try adding a lighter or darker area around the collar. Alongside changes in hue, check whether the boundary remains visible in grayscale; this makes it easier to assess light-dark separation.
Making a color more saturated does not necessarily lift it out of a dark background. Compare brightness, the area each color occupies, and outlines together. Saving HEX values and swatches helps with handoffs, but 3D lighting, rendering settings, and monitors can change how those colors appear.
Test stream backgrounds and icon backgrounds separately
Place the character over a light background, a dark background, and the game footage you intend to use. Before making a major outfit change, consider adjusting the avatar's position or placing a panel behind it. One palette may not work equally well against every background.
Light and dark modes on a streaming website are worth checking for profile icons and the surrounding page interface. Changing the viewing page's theme does not normally change the background inside the video composited by OBS. Test the video itself in your actual stream scene.
Adjust visual detail so expressions remain visible
Review decorations near the face by checking whether eye and mouth movements are readable. A design with bangs covering one eye can still work, but decide whether the visible eye, mouth, or head movement will carry the expression.
An avatar's hair hiding its eyes is different from the camera failing to recognize the streamer's real face. The design question here is whether viewers can see an expression once it is applied to the model. Actual tracking quality also depends on the input conditions and what the model and software support.
Small clothing patterns, thin chains, and clusters of metal details can lose definition when scaled down or compressed in video. You do not have to remove them all. Distinguish the shapes you want viewers to see at stream size from details they can enjoy in a larger illustration.
Even when repeating a motif, choose a focal point. For example, make the chest clasp prominent and keep the same pattern on the sleeves more restrained. That variation in emphasis gives you something concrete to compare.
Live2D and 3D require different preparation for movement
Complete design references do not automatically finish the part separation or rigging. Identify the areas you want to move, then separately confirm which assets the person making the model needs.
| Production method | Example materials to prepare | What to discuss during design |
|---|---|---|
| PNGTuber | Image variants for idle, speaking, and other states | Whether switching states causes unwanted shifts in position or outline |
| Live2D | Part-separated artwork and references for desired movements | Separation of eyes, mouth, hair, and other parts; drawing hidden areas; draw order |
| Manual 3D production | References explaining shapes and clothing, with three-view drawings where needed | Depth, layered clothing, secondary motion, and interference when moving the arms or neck |
| Image-to-3D generation with Virmii | One standalone character image | Unseen surfaces and details are inferred; exact reproduction is not guaranteed |
For Live2D, separate the artwork you want to move and draw in hidden areas where necessary. See the official Live2D manual for the part-separation process. Discuss part names and the level of separation with the person doing the work so they fit that person's production method.
In 3D, thickness, depth, and rig movement matter alongside the ordering of visible surfaces. Check long hair, capes, wide sleeves, and swinging ribbons on the model for intersections with the body. Having a reference drawing does not eliminate interference in every pose.
When commissioning a model, explain asymmetrical clothing and back details with supplementary drawings. The VTuber model creation guide compares production methods, while the VTuber software guide covers application choices.
Revision example: checking a black cat detective at a small size
This example uses the black cat detective introduced above to demonstrate how to review a first draft. It is a fictional character used for explanation, not an actual client project or a measured result.
Imagine a first draft with long black hair, a dark coat, and small metal decorations. When placed in a bust-up crop over dark game footage, the hair and shoulders appear to merge, and the tiny decorations become difficult to distinguish.
| Observed problem | Revision to try | What to check afterward |
|---|---|---|
| Long hair overlaps the shoulders, making the shape hard to read | Leave a gap between the side hair and shoulders, or change the direction of the hair sections | Whether the shape from the ears to the shoulders is readable at the same display size |
| Dark colors cluster below the face | Add a lighter fabric area around the collar | Whether the face and outfit separate without the collar drawing too much attention |
| Small metal decorations become a cluster of dots when reduced | Make the lens-shaped chest clasp the focal point and reduce surrounding ornaments | Whether the motif reads clearly without overpowering the eyes and mouth |
Keep the background, avatar size, and crop identical when comparing versions. Changing one element first, rather than the hairstyle and palette at the same time, makes it easier to judge what helped.
Reducing decorations alone does not guarantee simpler rigging or more readable expressions. Once you have a version that works as a still image, check it again in motion after the model is made.
A checklist for testing the design on stream
During design, a rough layout using still images is enough. Once the model is finished, repeat the checks with movement and a recording.
- Reduce the icon to around 50 pixels square and check whether the shapes and colors you want to preserve remain visible. This is an example test size, not a platform's required dimensions.
- Check that a circular crop does not cut off important features such as ears or a hat.
- Compare a small avatar for gameplay with a larger one for chatting streams.
- Check your intended vertical or full-body framing as well as a 16:9 layout.
- Confirm that the hair, face, and outfit remain distinguishable on light and dark backgrounds.
- Check that hair and props do not hide needed expressions such as smiles, blinks, or an open mouth.
- Check whether hair, collars, and shoulder accessories intersect when the head or body moves. If the model is not ready, record this as a check to perform later.
- Play the recording on a phone or another device and look for thin lines or patterns losing definition.
- Make sure the avatar does not cover subtitles, important game information, or stream alerts.
For preparation that also covers equipment, audio, and OBS, use the VTuber setup checklist.
Prepare references and a brief for the creator
First, ask whether a three-view sheet is needed
When commissioning a 3D model, aligned front, side, and back views help communicate depth and clothing structure. For Live2D, front-facing artwork and separated parts are central; whether a three-view sheet is needed depends on the scope of the work.
Once the front-facing design is settled, ask the creator which views they need. Add information about the back, props, and hidden clothing where it affects shape or movement. You do not automatically need enlarged drawings of the shoe soles or every button. The reference-sheet guide and pre-commission checklist explains how to organize these materials.
Short notes and color swatches are enough for a brief
You do not need to write the brief in JSON or another code format. Separating “features to keep,” “details open to discussion,” and “parts that should move” is often clearer for an initial conversation.
| Item | Example note for the brief |
|---|---|
| Features to keep | Keep the cat-ear silhouette and the lens-shaped clasp on the chest |
| Color references | Use #1A1A2E for the coat and #F4E9D8 around the collar; include swatches without shadows |
| Desired movement | The bangs should not hide too much eye expression, and the clasp should not overlap the chin when the head tilts |
| Flexible details | The number of small decorations and the division of hair sections can be adjusted to suit production |
| Display context | A small chest-up view for gaming and a larger view for chatting |
This table is an example for a conversation with a person. It is not a configuration file you can import into Virmii, nor does it guarantee that rendering will match the HEX values exactly.
Before commissioning, also confirm delivery formats, whether editable source files are included, revision limits, future outfit additions, and asset usage terms. For costs, see the VTuber model commission cost guide.
Prepare a standalone character image to try Virmii
Virmii generates 3D avatars from character images. It is not a commissioned design service where a designer individually finishes a model according to a written brief. It also does not create Live2D models or PNGTuber image variants.
Choose From text to generate an avatar from a written character description without a reference image. If you already have artwork, choose From image to upload one character image and an optional avatar name. For image mode, export a clear character illustration as a standalone image rather than submitting an entire reference sheet filled with multiple views and text.
Accepted images are PNG, JPEG, and WebP, up to 10 MB, at least 256 pixels on each side, and no more than 40 megapixels in total. Use an image you have the rights or permission to process, and check whether overlapping hair, clothing, or props hide important shapes. A full-body image can communicate proportions and shoes, but it still cannot provide information about surfaces that are not visible.
Model generation uses paid credits. Unseen backs and the structure of complex decorations are inferred, so faithful reproduction of the design is not guaranteed. Preview the result and consider revising the input image or editing with external tools where necessary. Regenerating is different from selectively editing part of an existing model while keeping the rest fixed.
Virmii supports AI expression generation for models created in Virmii. Open the completed model and select Generate expressions to create 13 images for blinking, smiling, and mouth movement, then test them with camera tracking. This artwork works in Virmii previews, Live Studio, and the OBS stage without requiring facial shape keys. Uploaded VRMs use their existing expression bindings; downloaded VRMs do not include the generated artwork. See the AI expression generation guide.
AI expression generation costs 20 credits per set without a subscription. Creator and Pro use included monthly generations first; additional sets cost 20 credits. The initial charge is kept if generation fails. Each model version allows up to 2 free retries for missing or failed images, without using more credits, included generations, or model retry attempts. See pricing for the current monthly allowances.
See the pricing page for current usage terms. The Virmii tutorial covers generation, browser tracking, and connection to a private transparent stage for OBS.
Frequently asked questions
Can I plan a VTuber character design if I cannot draw?
Yes. You can organize your activities, desired impression, essential motifs, and color options in writing and reference materials. Even a simple sketch can start a useful conversation if it communicates your intent. Notes alone do not produce a finished illustration or animated model, though. You still need a separate step to commission artwork or prepare assets you are allowed to use.
Do I need several outfits or accessories from the start?
No. Starting with one main outfit and a defined set of expressions and movements limits the number of things you need to check. If you want to add outfits later, discuss source-file delivery and the scope of future work at the outset.
When should I prepare a three-view sheet?
If you are commissioning a model, confirm the required views and who will create the references once the front-facing design direction is settled. Where a sheet is needed, prepare it before modeling begins. It is not always mandatory for Live2D and is not a prerequisite for trying generation with Virmii.
Can I change the hair color or outfit after I start streaming?
Changes may be possible, but the work depends on the source files, asset usage terms, model structure, and software. Even a hair-color change may require texture or material editing, and adding an accessory may require additional rigging. A small visual change is not necessarily an easy edit.
Changing the reference image and regenerating in Virmii does not guarantee a partial revision that preserves the original face or skeleton. Identify the features you need to keep for character consistency, then consider whether external editing or a new production pass is needed.
When making design decisions, start by placing the character in your actual stream layout. Once you know which features to keep and which areas to revise, you can prepare the references that fit your chosen production method.