Tutorials
Create a 3D VTuber from One Image and Stream in OBS
A hands-on Virmii tutorial for turning one character image into a 3D VRM avatar, testing browser tracking, and adding the live stage to OBS.
One image, one small penguin, one VTuber test
I wanted to see how far I could get with a single character image and no manual rigging. The test subject was a penguin-style character image that the source described as open source. Before using any artwork in your own project, check the actual license and make sure it permits your intended use. A description attached to an image is not a substitute for a license.
The route through Virmii was short: prepare the picture, generate the model, wait for the VRM pipeline, test tracking in Chrome, and copy a private stage URL into OBS. The result was not a hand-finished studio model, and the tracking still had a few rough edges, but it was usable enough to put on a live canvas.
This guide follows that exact run. If you want the product-level overview first, see how Virmii creates a 3D VTuber avatar.
What you need before starting
For this walkthrough, I used:
- One character image that I was allowed to use
- A Virmii account and enough credits for one generation
- A current desktop version of Chrome or Edge
- A webcam for tracking
- OBS Studio for the live scene
Virmii accepts PNG, JPEG, and WebP reference images. The file must be 10 MB or smaller, at least 256 x 256 pixels, and no more than 40 megapixels. A clear full-body or half-body image gives the generator more useful information than a heavily cropped picture.
Try to avoid hidden limbs, props crossing the body, busy backgrounds, and large accessories covering the face. The generator has to infer a three-dimensional body from one flat view, so every visible contour helps.
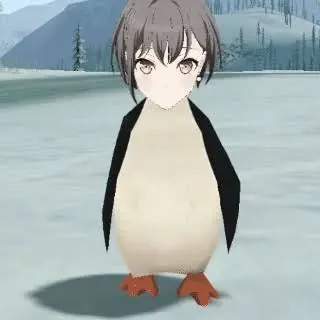
Here is the original reference used for this test:
Clean up the reference image
Background removal is not a required Virmii step, but it can make the character silhouette easier to read. In this case, I used Codex as an optional image-editing helper to remove the surrounding background. Codex did not generate or rig the 3D avatar; it only helped prepare the input image.
When cleaning a reference, keep the character itself unchanged. Watch the edges around feet, hands, ears, hair, and small accessories. Aggressive background removal can erase those details or leave a bright halo that becomes part of the generated texture.
The cleaned reference looked like this:
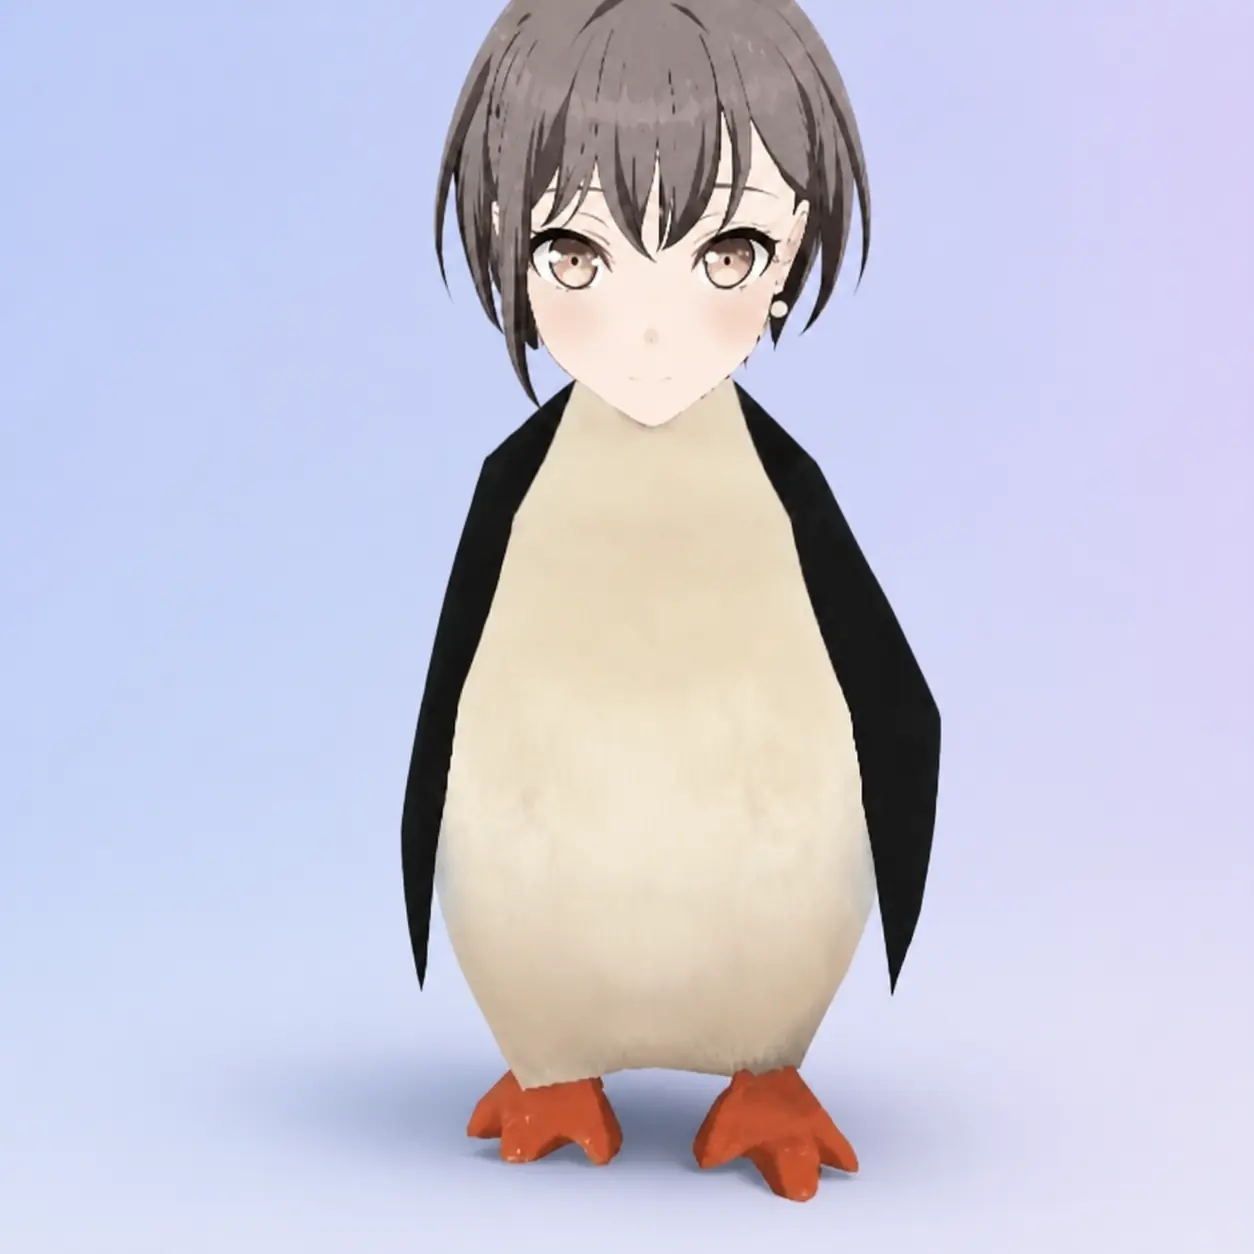
I would normally stop here rather than trying to paint missing side or back views. For a one-image test, a clean and honest source is more useful than invented details that do not match the original design.
Start the Virmii generation
Open the Virmii Studio and go to the avatar creation screen. The current form is deliberately simple:
- Enter an avatar name, or leave it blank to use the image file name.
- Choose the prepared PNG, JPEG, or WebP file.
- Check the image preview and reported dimensions.
- Select Generate 3D model.
There are no style or anatomy selectors in the current workflow. The reference image is the source of truth. The page also shows the current credit cost before you submit, so check that value rather than relying on an older tutorial or screenshot.
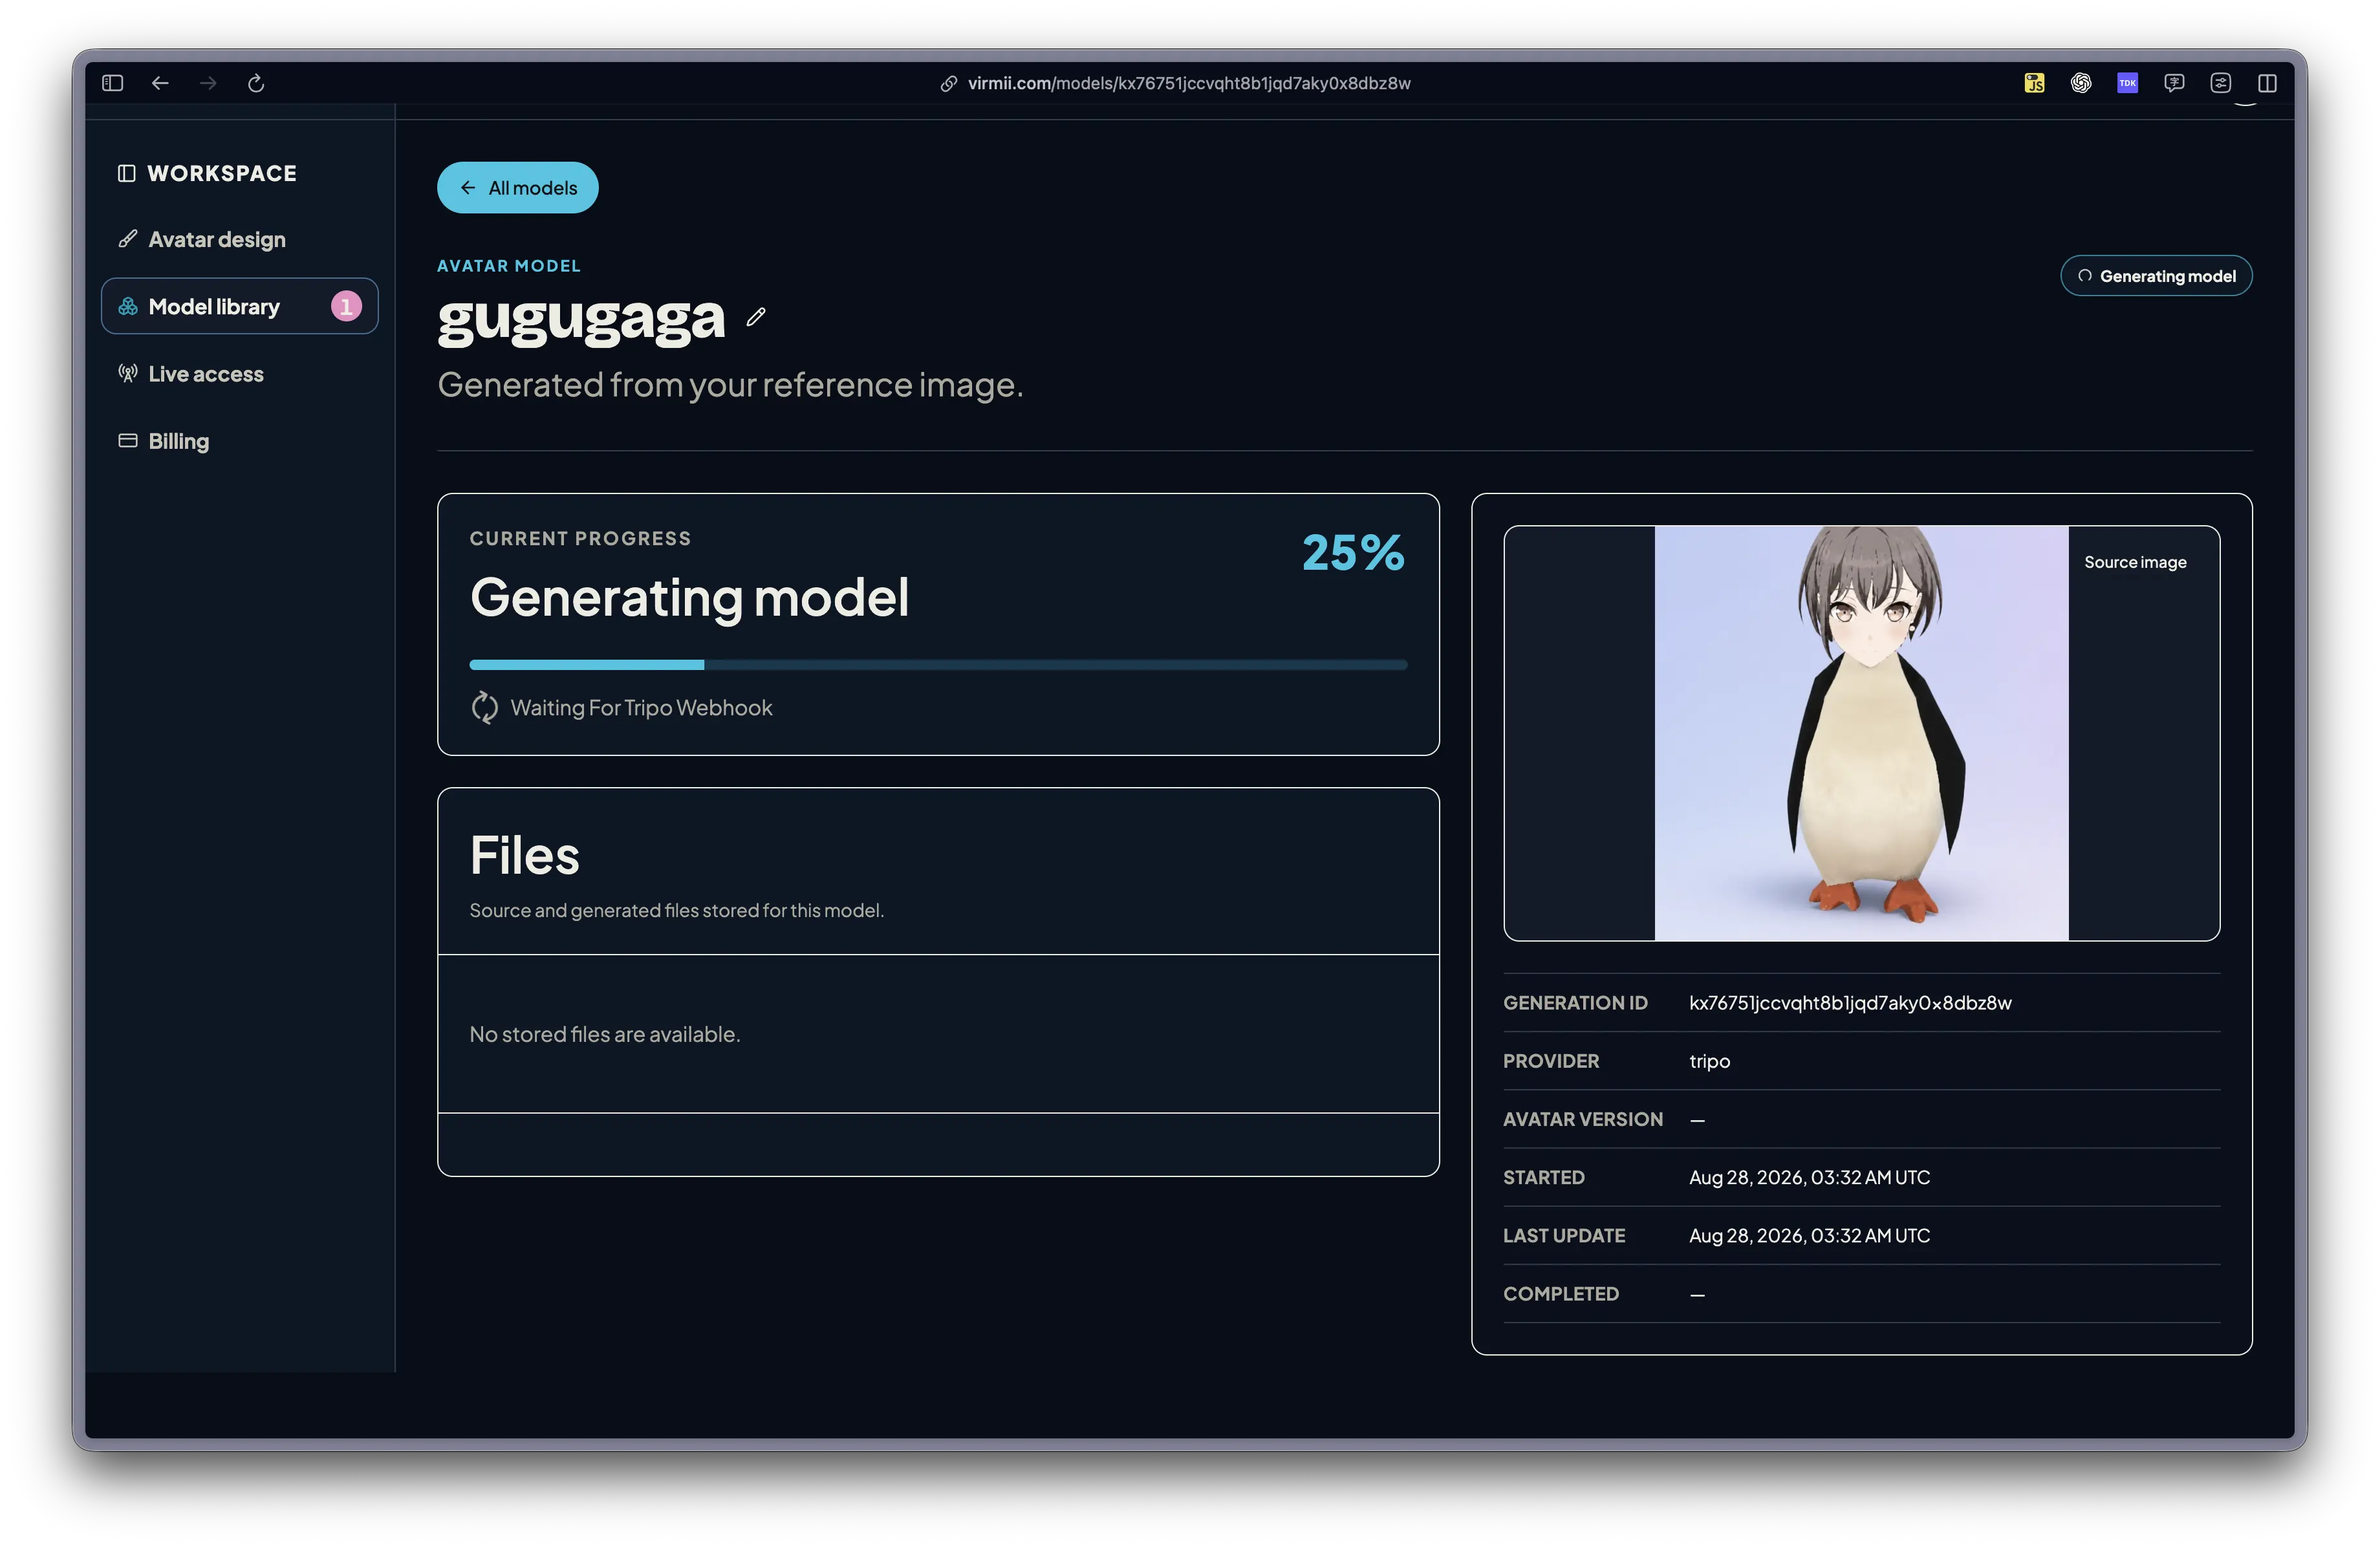
This is the start of the generation used in this article:
Virmii validates the file in the browser and again after upload. A file with the wrong format, invalid contents, excessive dimensions, or a size above 10 MB is rejected before model generation begins.
What happens while the model is processing
The job page stays useful after submission because it records the current stage and progress. Behind that progress display, the reference moves through several distinct systems:
| Stage | What happens | Result |
|---|---|---|
| Base model generation | Tripo creates a textured 3D model from the image. | A generated GLB model |
| Automatic rigging | The generated model receives a humanoid rig. | A rigged 3D model |
| Virmii standardization | The pipeline checks the humanoid mapping, processes available facial data, prepares metadata, and builds the VRM. | A validated avatar package |
| Final upload | The finished assets and preview are attached to the generation job. | A model ready to inspect |
Third-party service notice: Tripo is an independent third-party provider used for base model generation. References to Tripo do not imply a partnership, endorsement, or sponsorship between Tripo and Virmii.
Generation is asynchronous, and some stages take longer than others. The progress screen is a better source of truth than guessing from elapsed time.
Here is the job while it was still running:
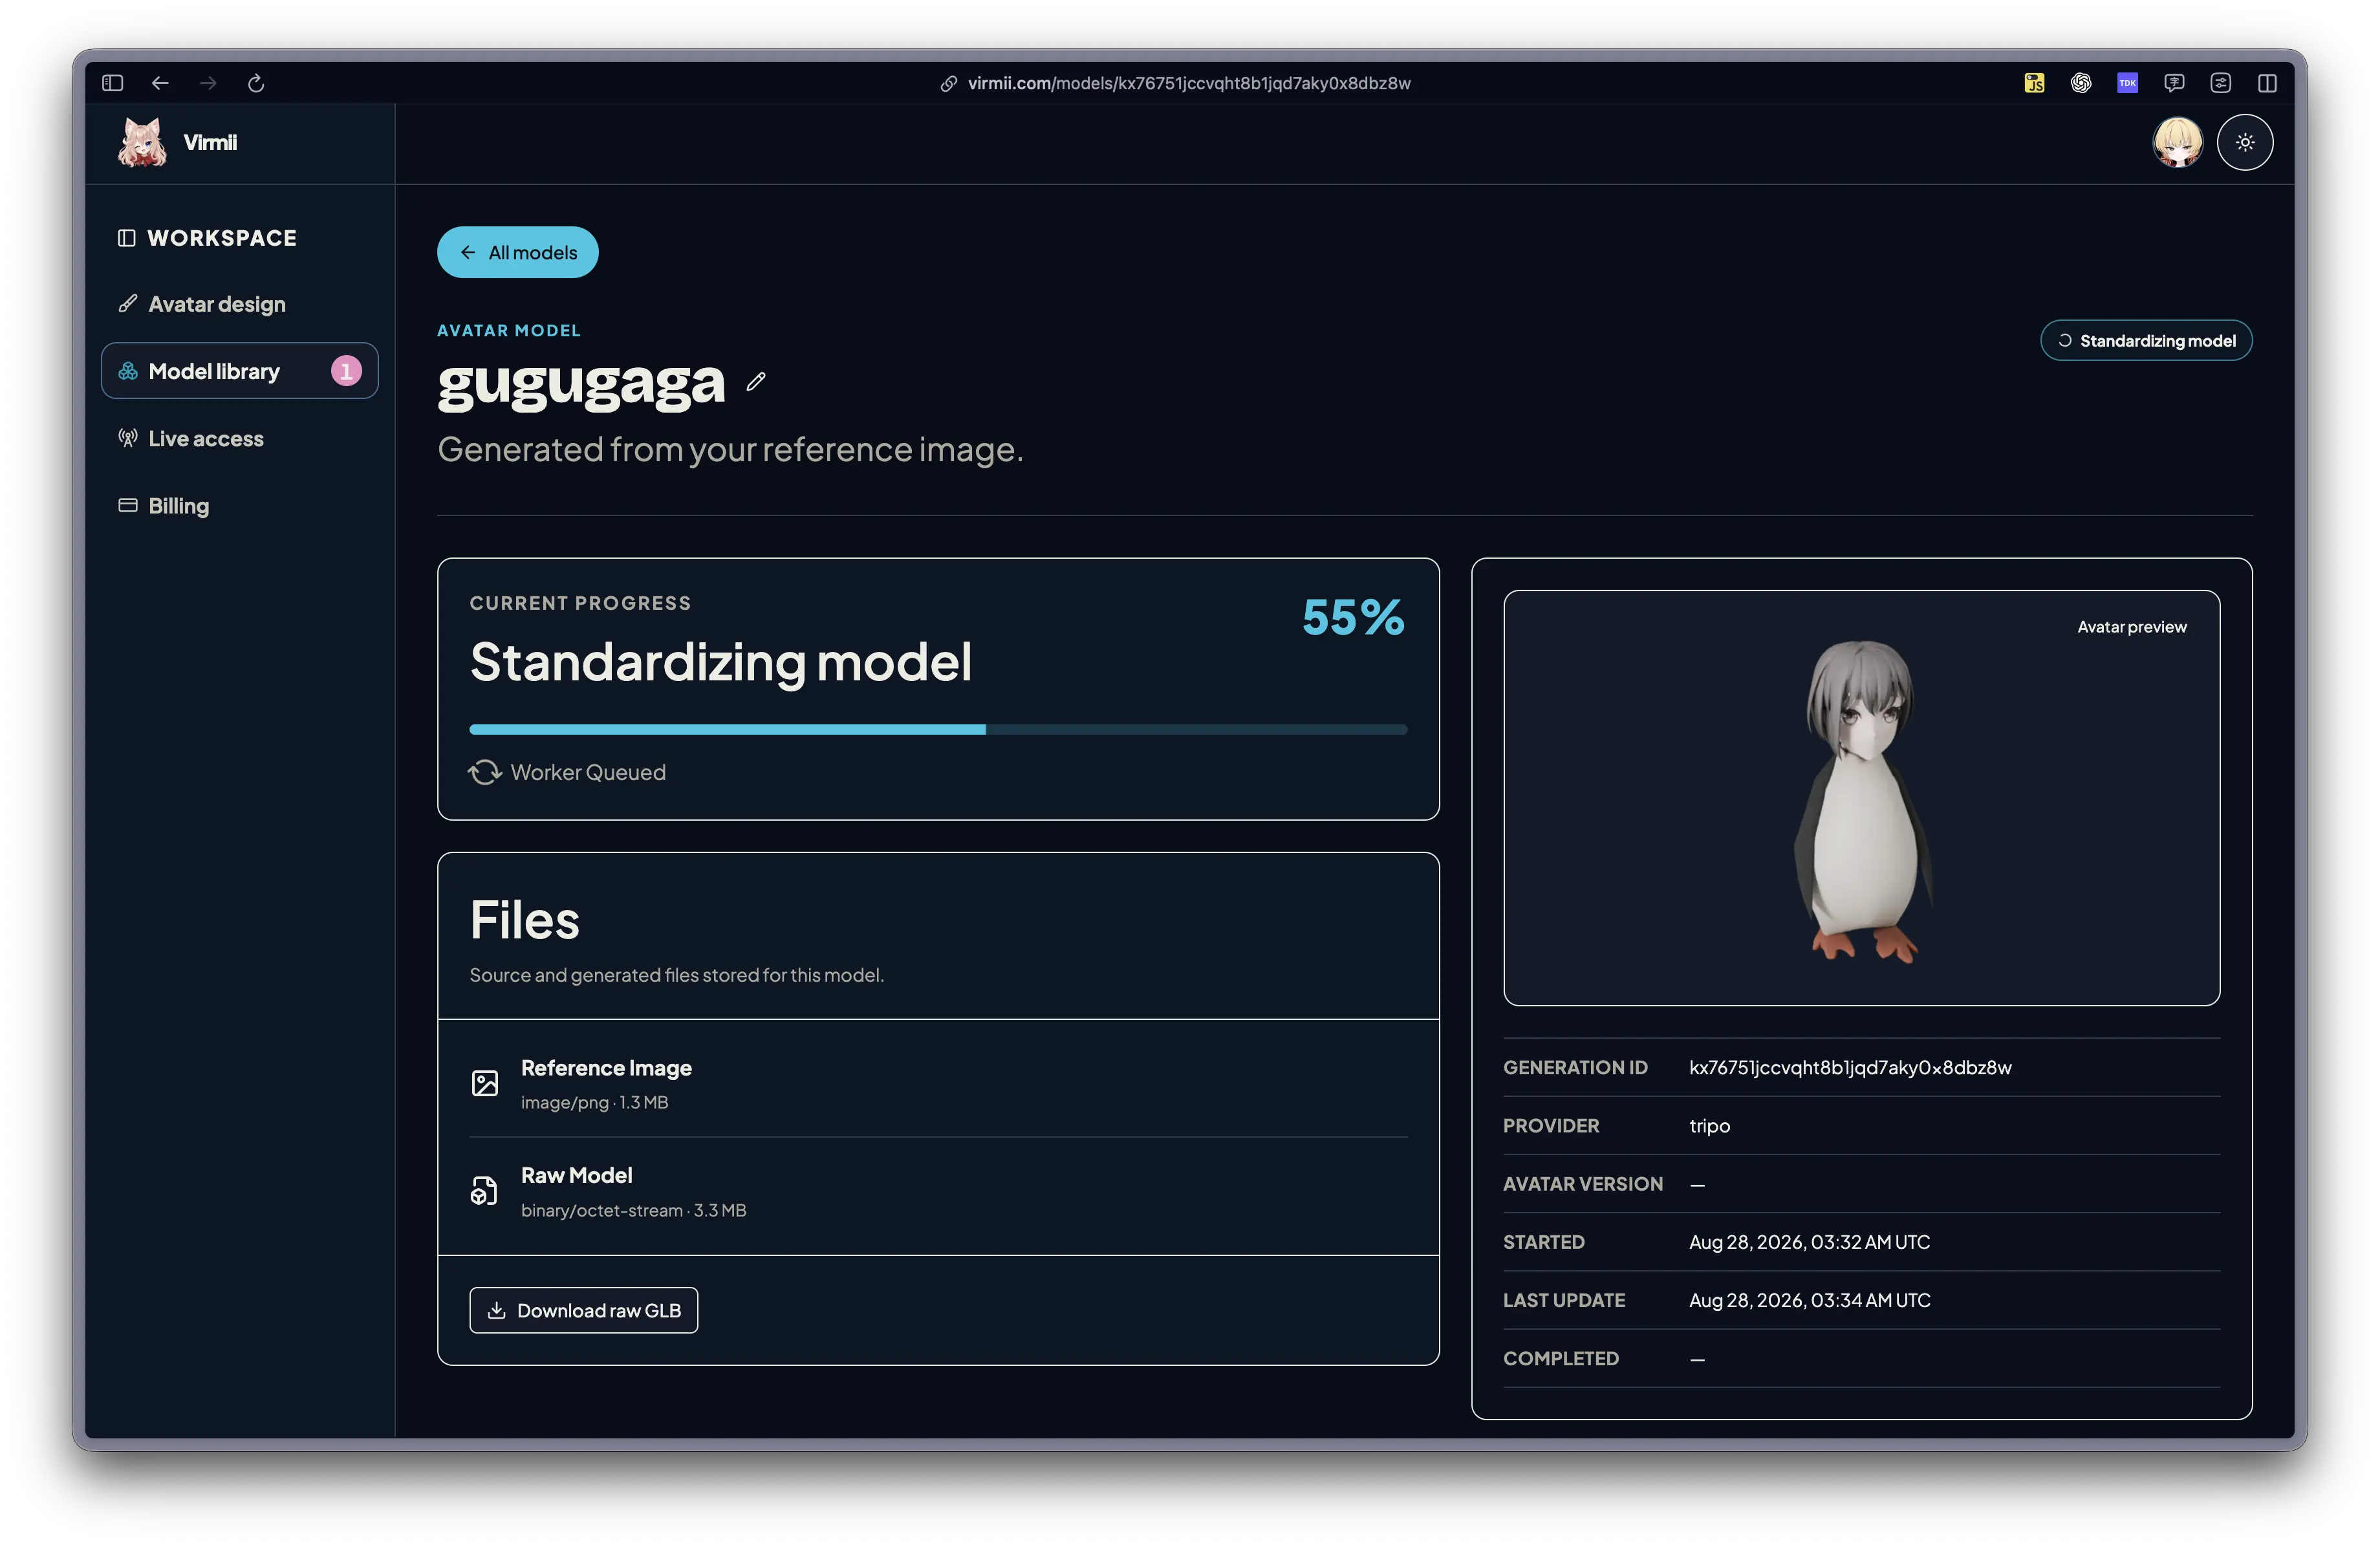
The important distinction is that an AI-generated mesh is not automatically a stream-ready avatar. Virmii still has to obtain a usable humanoid rig, check the result, and package it as VRM before the browser can drive it consistently.
Inspect the finished avatar
Once the job finishes, open the completed model page and look at the avatar before turning on the camera. Check the silhouette, limbs, texture placement, and any accessories that may have merged into the body. A single reference image leaves the unseen side of the character open to interpretation, so the back and profile may differ from what you imagined.
This was the finished result from the penguin reference:
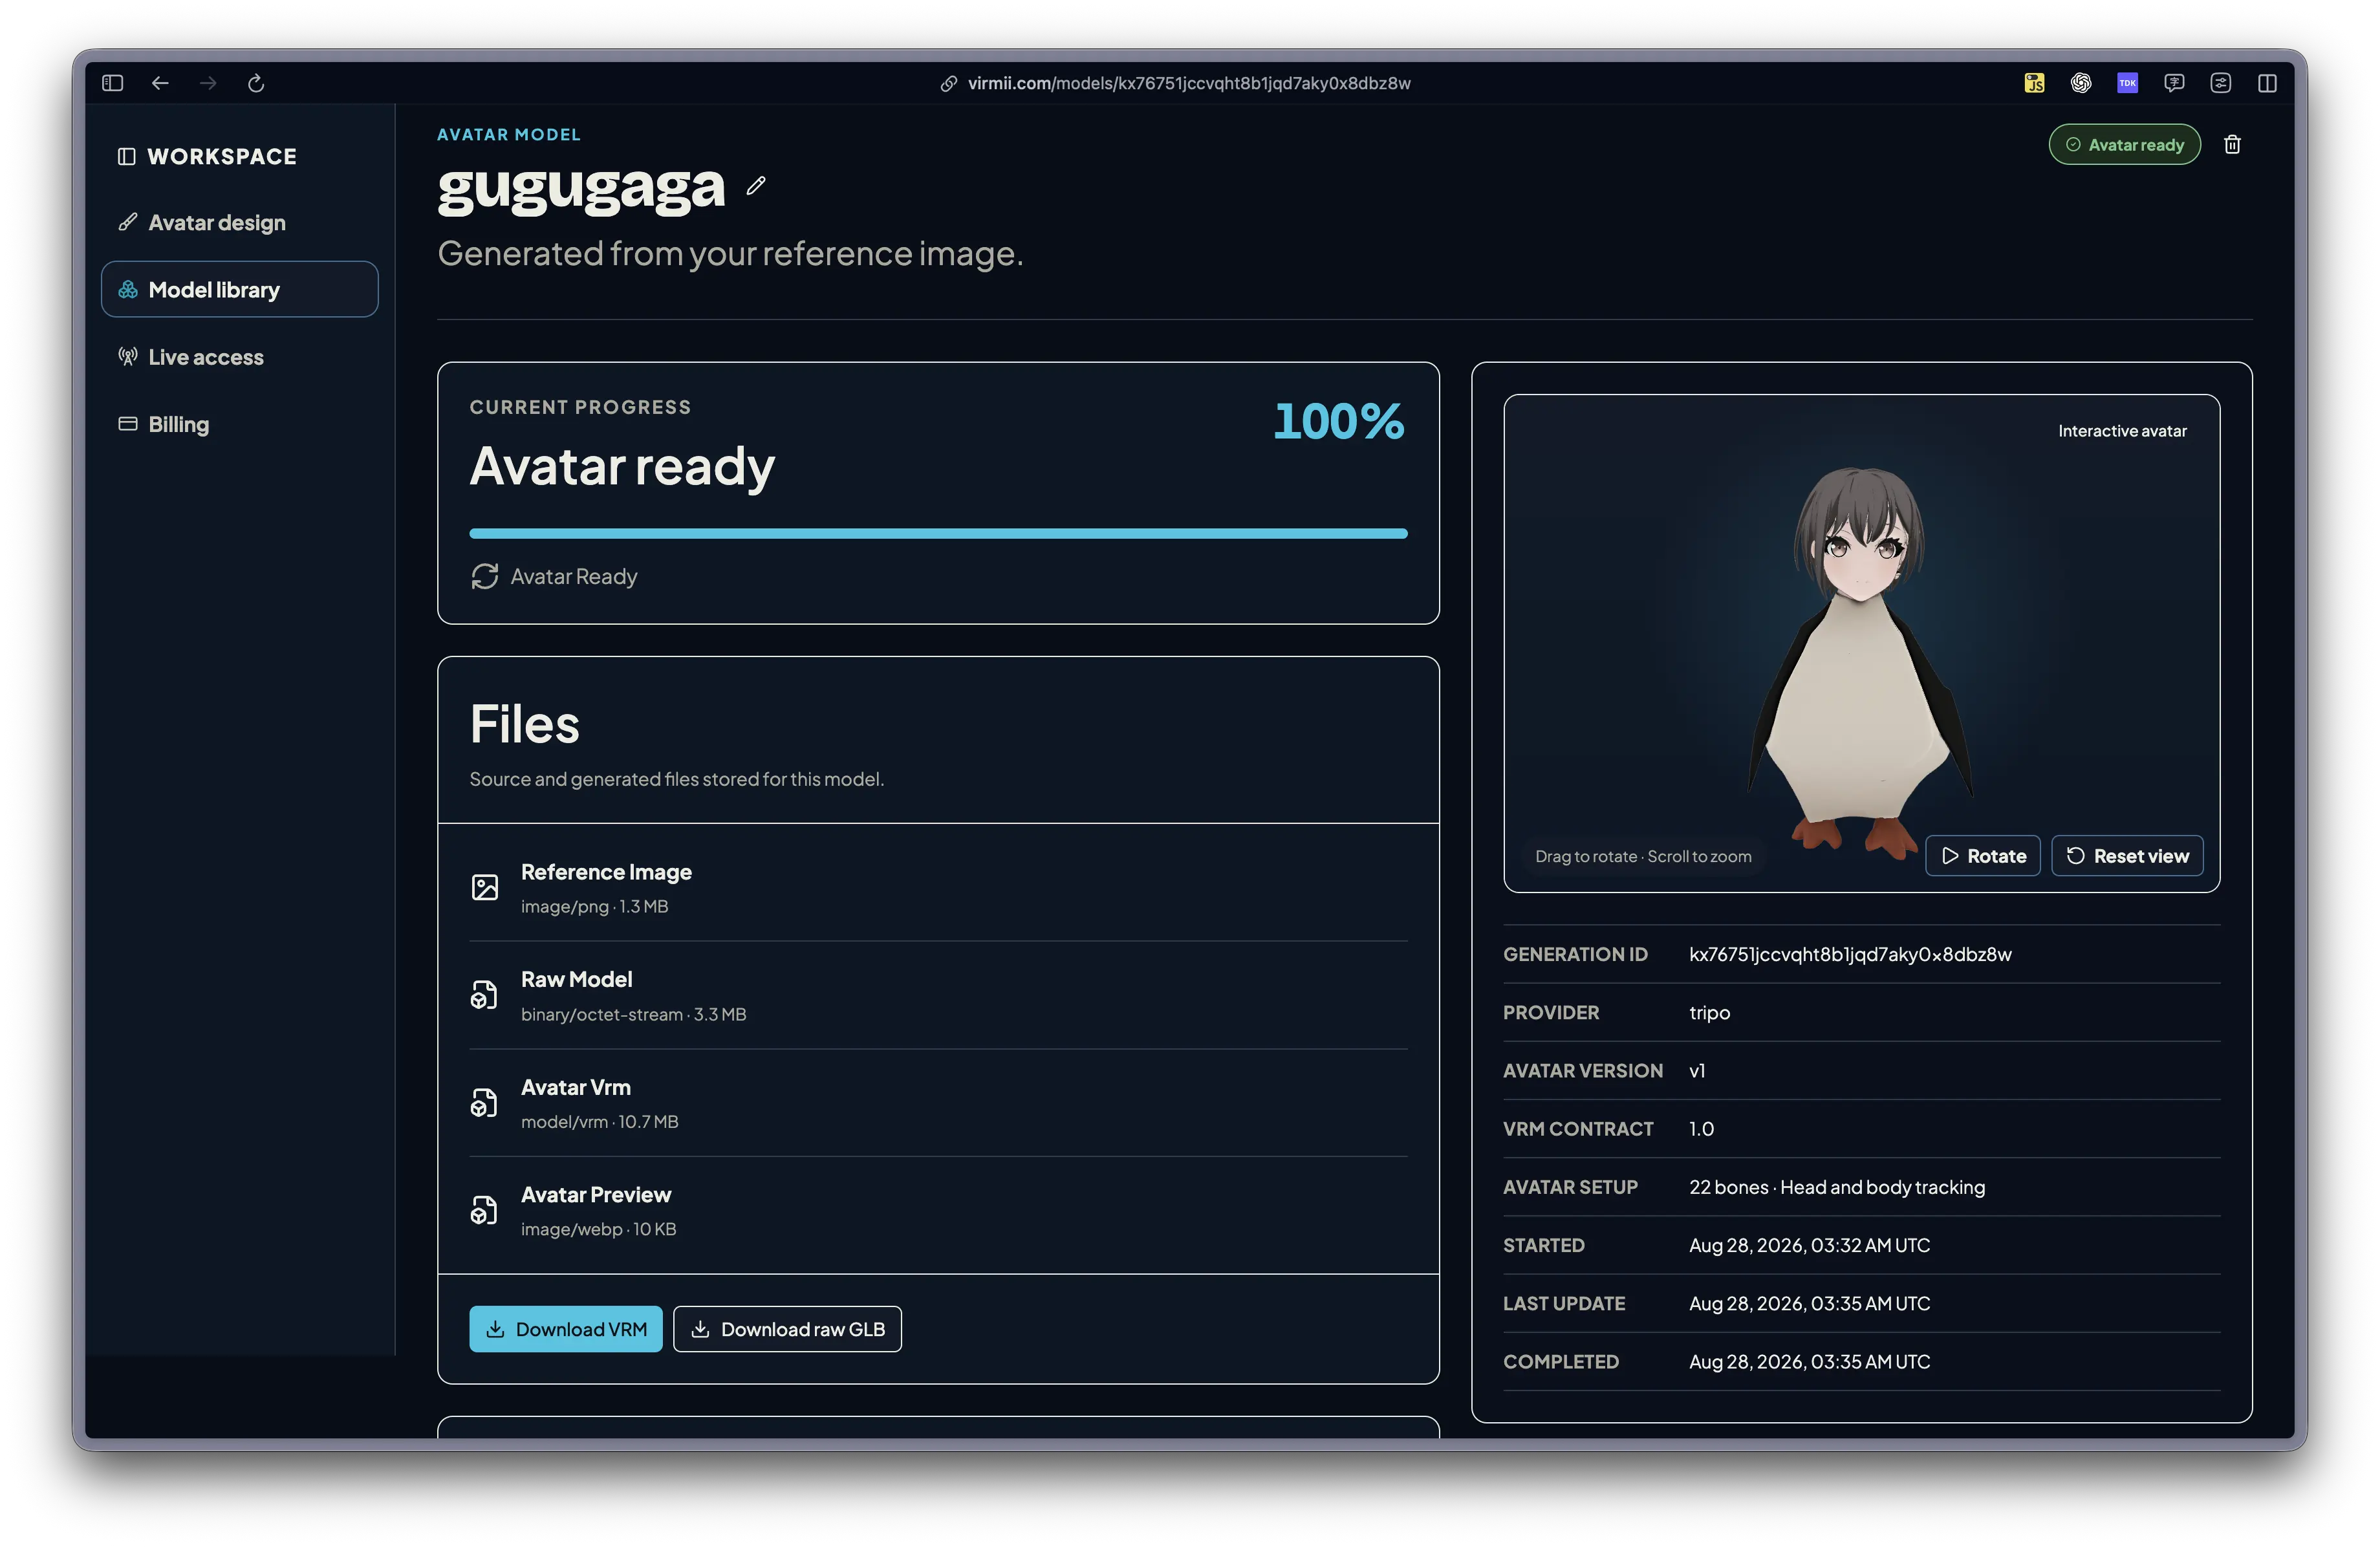
The output was recognizable and good enough for a live test. It was not perfect. Some motion needed refinement, which is a normal result for a character generated from one stylized image.
Test browser tracking honestly
Open the avatar's Tracking Studio in a current desktop version of Chrome or Edge, grant camera permission, and calibrate from a neutral pose. Face the camera directly, keep it near eye level, and use soft front lighting. Harsh shadows around the eyes and mouth make landmark detection less stable.
Virmii supports AI expression generation for models created in Virmii. Open the completed model and select Generate expressions to create 13 images for blinking, smiling, and mouth movement, then test them with camera tracking. This artwork works in Virmii previews, Live Studio, and the OBS stage without requiring facial shape keys. Uploaded VRMs use their existing expression bindings; downloaded VRMs do not include the generated artwork. See the AI expression generation guide.
AI expression generation costs 20 credits per set without a subscription. Creator and Pro use included monthly generations first; additional sets cost 20 credits. The initial charge is kept if generation fails. Each model version allows up to 2 free retries for missing or failed images, without using more credits, included generations, or model retry attempts. See pricing for the current monthly allowances.
While tracking is active, the raw camera frames stay in the Chrome tracking page. Virmii sends compact motion packets to the private OBS stage over WebRTC. OBS renders the avatar; it does not receive your webcam video. Keep the Tracking Studio page open for the duration of the stream.
Connect the private live stage to OBS
After tracking works in the browser, create a private OBS URL from the Tracking Studio. Treat this URL like a password: anyone who has it may be able to open the stage until you reset or disable the link.
Then configure OBS:
- In the Sources panel, select + and choose Browser.
- Create a new Browser Source and paste the private Virmii URL.
- Set the canvas to 1920 x 1080.
- Place and scale the avatar in your scene.
- Keep the Chrome Tracking Studio open so it can continue sending motion.
OBS Browser Source supports transparent web content, so the avatar can sit above gameplay, a background, or another scene layer without a green screen. The official OBS Browser Source guide covers the general source settings.
This is the live-room view from the test:
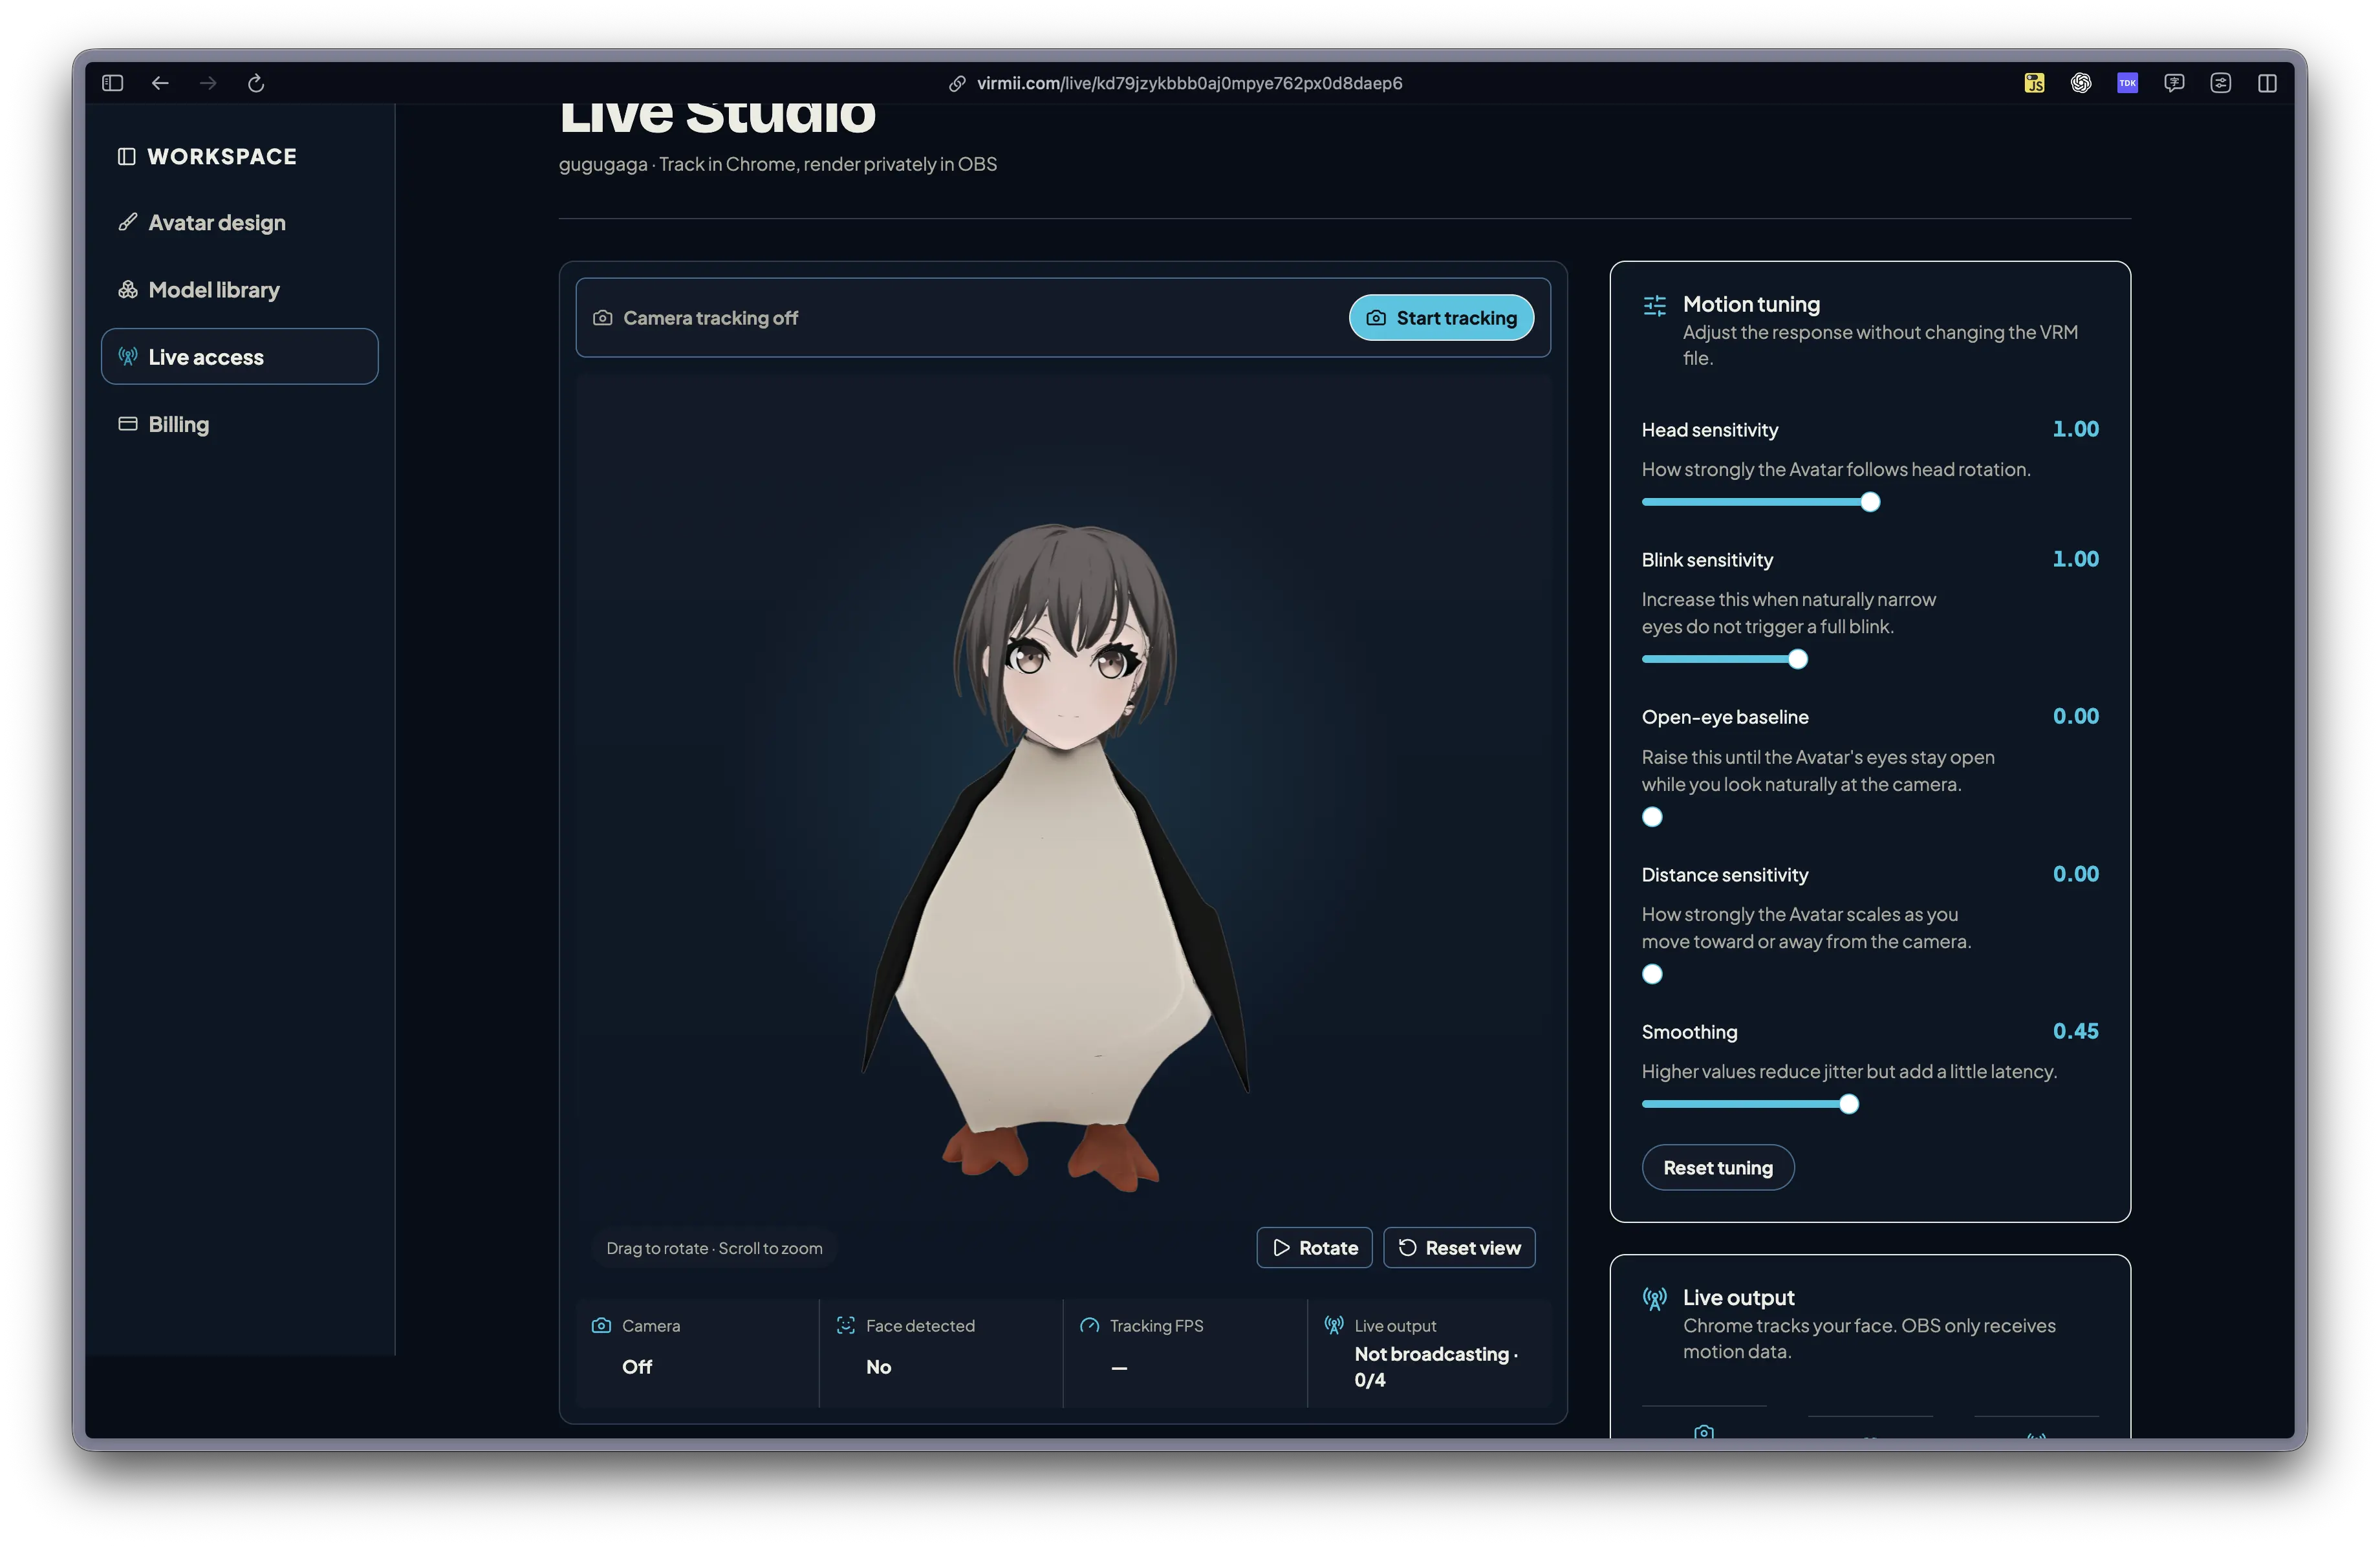
If the stage stops moving, first confirm that the Tracking Studio is still open and that the OBS connection status is active. Next, check camera permission and the private URL. If the URL has been exposed, reset it in Virmii and replace it in OBS.
VRM is not Live2D
Virmii does not produce a Live2D .moc3 model. It uses the VRM and glTF ecosystem for three-dimensional humanoid avatars. A VRM contains a 3D mesh, materials, a humanoid skeleton, avatar metadata, and any supported expressions or spring-bone settings.
This makes the result portable. When a download is available for your model, you can keep the .vrm file and open it in compatible software. A modeler can also refine the mesh, materials, rig, and expressions in Blender with an appropriate VRM add-on. Read the official VRM documentation if you want to understand the format itself.
Portability does not guarantee that every application supports every VRM feature in the same way. Keep the original file, make edits on a copy, and test the edited model again in Virmii before using it in a live session.
What I learned from the test
The useful part of this workflow was not that AI removed every technical problem. It did not. The useful part was getting from an authorized picture to a trackable 3D draft without manually building a mesh and rig from scratch.
Three things had the biggest effect on the result:
- A clean source image with a readable silhouette
- Realistic expectations about geometry inferred from a single view
- Testing the model's actual tracking level before opening OBS
For a first VTuber experiment, a prototype, or a character that needs to get on screen quickly, that is a practical starting point. Artists and modelers can take the exported VRM further instead of rebuilding the whole character.
If you want to try the same process, prepare artwork you have permission to use, open the Virmii Studio, and create one test avatar. Inspect the result before committing it to a stream scene. A ten-minute tracking test will tell you more than a perfect-looking still image.
Frequently asked questions
What image formats does Virmii accept?
Virmii accepts PNG, JPEG, and WebP files. The image must be no larger than 10 MB, at least 256 x 256 pixels, and no more than 40 megapixels.
Do I need Blender or Live2D to follow this tutorial?
No. Virmii handles the initial 3D generation, rigging workflow, VRM preparation, browser preview, and OBS stage. Blender is optional if you want to refine the finished VRM. Live2D uses a different 2D model format and is not part of this workflow.
Does OBS receive my webcam video?
No. In the Tracking Studio workflow, Chrome processes the camera frames and sends motion data to the private stage. OBS renders the VRM stage and does not receive raw camera frames. Keep the Chrome page open while streaming.
Can I generate blinking and mouth expressions?
Yes. Select Generate expressions on your completed Virmii model to create blink, smile, and mouth artwork for camera tracking. Preview it before streaming: alignment and quality vary with the face and generated images. The artwork works inside Virmii and is not embedded in VRM downloads.
Can I edit the generated avatar later?
Yes, if the VRM download is available for the model. Work on a copy in VRM-compatible software, preserve the humanoid bone mapping, and test the edited file before using it live.