How to Stream with a VRoid Model in OBS: Step-by-Step Setup Guide
Export your VRoid avatar as a VRM, test its facial expressions, and bring it into OBS with VSeeFace Game Capture or a private Virmii Browser Source.
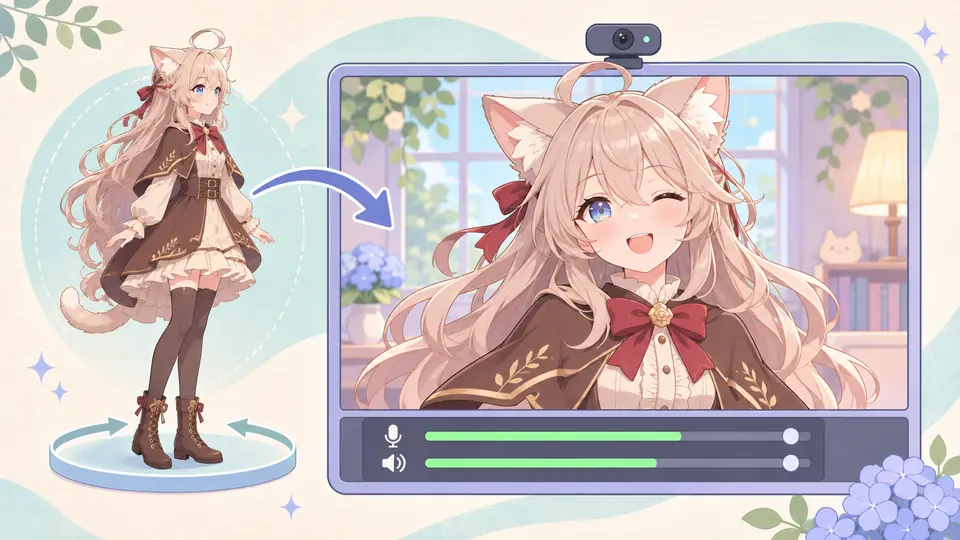
OBS doesn't open a VRoid model directly. Export the character from VRoid Studio as a .vrm file, open it in a tracking app, then add the app's output to your OBS scene. You don't need to add the webcam itself as a video source: the tracker needs to see your face, but your audience only needs to see the avatar.
Choose your route before exporting. It affects both the file you need and the source you add to OBS.
| If you want to use… | Prepare | Add to OBS |
|---|---|---|
| VSeeFace on Windows | A VRM 0.x export. VSeeFace doesn't load VRM 1.0. | Game Capture pointed at VSeeFace, with transparency enabled |
| Virmii Live Studio in a browser | A compatible exported VRM uploaded to your Virmii model library | A Browser Source using the model's private stage URL |
Already have a finished VRM? Start at step 3. Keep the original file and make sure its terms permit the way you plan to use it. Deciding between manual sculpting and image-to-3D generation, or streaming on macOS instead of Windows? See our VRoid Studio alternative & bridge guide and VSeeFace alternative comparison for Mac and VRM 1.0.
1. Check the face in VRoid Studio
Open your editable .vroid project. In the Face editor, open the Expression Editor from the bottom of the left-hand list. Pick a preset and use the sliders to inspect it. The VRoid Expression Editor guide also shows how to preview expressions in Photo Booth.
| Check | What to look for |
|---|---|
| Neutral | At rest, do the eyes and mouth look the way you designed them? VRoid's Neutral preset is not necessarily the same as setting every slider to zero. |
| Blink | Close the eyes and look at both lids. Check for a gap, an eyelash poking through the skin, or one eye closing less than the other. |
| Open mouth | Preview an open vowel, then return to rest. Check that the lips separate and close cleanly. Try the other vowel shapes you intend to use; the tracker may not drive every one of them. |
If a lid already clips here, fix it in the project. If it looks right here but fails later, this preview gives you a baseline for finding where the problem starts.
2. Export a VRM for your tracker
- Save the
.vroidproject. Open the export menu at the top right and choose Export VRM. - Select the VRM version your tracker supports. If you're following the VSeeFace route, choose VRM 0.x. Renaming a VRM 1.0 file won't convert it.
- Review the model's author information and usage settings. If you reduce polygons, materials, or bones for performance, keep the original project and check the face and hair again in the exported version.
- Save the export under a recognizable filename, such as
Mika-vrm0-stream-v1.vrm. Keep it alongside the editable project.
The character can look expressionless on the export screen: VRoid shows that preview with expression parameters at zero. This doesn't mean the export lost your saved expressions. See VRoid's VRM export guide for the distinction between the project and the exported file.
3. Load the avatar and test tracking before opening OBS
Route A: VSeeFace on Windows
Open VSeeFace, add your exported VRM as a local avatar, and select it. Choose your webcam and start the session. Sit where you'll be during the broadcast, look straight ahead, and reset your tracking position. If another application has the camera open and VSeeFace can't see it, close that application and try again.
Blink once, turn your head, then open your mouth without speaking. If you're using VSeeFace's audio-based lip sync, select the intended microphone in VSeeFace and test speech as well. Selecting that microphone in the tracker doesn't add your voice to the OBS recording. The VSeeFace manual covers supported models, lip sync, and capture settings.
Route B: Virmii Live Studio
- Sign in, use Upload custom VRM to add the exported file to your model library, and open the ready model in Live Studio. If you already have a VRM, you don't need to generate another model from an image.
- Under Live output, choose Create private OBS URL if the model doesn't already have one. This enables the tracking control; it doesn't start a stream.
- Choose Start tracking and allow camera access. Face the camera in your normal seated position. Once your face is detected, choose Set forward pose.
- Blink, open your mouth silently, then relax. Watch the avatar in Live Studio. Virmii uses visible facial movement here, so turning up microphone gain won't make its mouth open farther. Leave Live Studio open when you switch to OBS.
An uploaded VRoid model uses the expression bindings already in its VRM. A moving head with a still mouth is possible if the mouth binding is missing. Virmii's separate Generate expressions action is for models generated in Virmii; it doesn't add missing bindings to an uploaded VRoid file. That generated artwork is also separate from a downloaded VRM. The VRM file guide explains what travels with the file.
4. Add the avatar to your OBS scene
Create or select a scene. Put your game, slides, or a temporary Color Source at the bottom of the source list, then put the avatar above it. A colored background makes a transparency mistake easier to spot than an empty black canvas.
Capture VSeeFace with Game Capture
In Sources, select + → Game Capture. Choose Capture specific window, select VSeeFace, and enable Allow Transparency. In VSeeFace, click the small ※ button at the bottom right to hide the interface. If the button itself remains visible, use the space bar to toggle it.
Look at the result in OBS, not just the VSeeFace window. Your scene background should show through around the character. You don't need a green-screen filter for this route. If you see a gray rectangle or tracking controls, check that you're capturing the correct window with Game Capture and that the VSeeFace interface is hidden.
Add Virmii as a Browser Source
In Live Studio, copy the private OBS URL from Live output. In OBS, select Sources → + → Browser, leave Local file off, and paste the URL. Set the viewport to fit your layout; 1920 × 1080 is a starting point for a widescreen stage. Resize and position the source in the scene.
Use the stage URL, not the Live Studio controller URL. Keep the controller open and outside any screen capture. Do not show the source properties on stream. If the private URL is exposed, reset it in Live Studio and replace the old URL in OBS.
Leave custom CSS at its default for the first test. The OBS Browser Source documentation explains the default transparent page background and what happens when a source is hidden or refreshed. CSS can't restore a lost tracking connection or make a dashboard safe to broadcast.
For either route, select the microphone you want to broadcast in OBS. Speak and watch the Audio Mixer. If you already use that device as the global Mic/Aux input, don't add a second copy as a scene source unless you've deliberately set up separate routing.
5. Record 15 seconds before going live
Start a local recording, not a stream. Sit still for a moment, blink twice, turn your head, and say a short phrase with a clear pause at the end. Switch to another scene and back before stopping the recording. Play the actual file with sound.
- At rest, does the face return to its intended pose? During the phrase, can you see the mouth move at normal viewing size?
- Can you hear your voice once, without echo? If the audio consistently arrives before the picture, try a small microphone Sync Offset in OBS Advanced Audio Properties and record again. Adding audio delay won't fix audio that's already late.
- Does the background show through around the hair? After the scene switch, does the avatar still move? Check that no webcam preview, controller, or private URL appeared during the transition.
A short clip catches setup mistakes, but it doesn't test a whole broadcast. Try the same scene with your usual game or presentation running before relying on it for a long session.
Troubleshoot the first place the motion goes wrong
| Symptom | What to check next |
|---|---|
| VSeeFace won't load the model | Check whether you exported VRM 1.0. Reopen the original project and export VRM 0.x for VSeeFace. |
| The eyes or mouth look wrong even in VRoid Studio | Adjust the corresponding preset in the Expression Editor, save the project, and export a new file. |
| The head turns in the tracker, but the mouth or eyes stay still | Compare the exported model's expressions with the project preview. If the file has working expressions, improve front lighting, recalibrate, and check the tracker's blink or mouth sensitivity. For VSeeFace audio lip sync, also check its selected mic; for Virmii, test visible mouth movement. |
| Live Studio moves, but the OBS avatar is frozen | Confirm tracking is active and Live Studio is still open. Check the stage connection and whether the source has the current URL. If it breaks only after a scene switch, inspect the Browser Source's shutdown and refresh settings. |
| The avatar moves in OBS, but the recording is silent | Check the selected microphone, mute state, meter, and recording audio track in OBS. Re-exporting the model won't change recorded audio. |
If face detection itself is intermittent, the webcam tracking guide walks through lighting, framing, and sensitivity checks.
Before each stream
Keep the .vroid project and the working .vrm export backed up. On stream day, load the known-good file, check the camera in your usual lighting, and repeat the blink and mouth test. Then check the avatar layer and microphone in the scene you'll actually use. If you've changed a source or reset a stage URL since the last broadcast, make a new test recording. The stream setup checklist covers the rest of the scene.
Frequently asked questions
Can I reopen a VRM in VRoid Studio to fix the face?
No. Open the original .vroid project, edit the expressions, and export a new .vrm. If you only have the exported VRM, ask its creator for an updated file or use an editor that supports that VRM version and that you have permission to use for modifications.
Why does my VRoid model's mouth move in the tracker but not in OBS?
That's a useful clue: the tracker can already drive the mouth. In VSeeFace, check that Game Capture points to the live window rather than an image or a different instance. In Virmii, check the private stage URL and tracking connection. Changing the mouth shape in VRoid Studio isn't the first fix for either case.
Should I use Game Capture or Browser Source?
Use Game Capture for the VSeeFace window on Windows. Use Browser Source for Virmii's private stage URL. Neither source loads the raw VRM file on its own.
Do I need AI expressions or a microphone to test my uploaded VRM in Virmii?
No. Virmii maps camera movements to the expressions your upload already contains. You can test a blink and an open mouth in silence. Add your microphone to OBS when you want viewers to hear you.